
Vinyl Decal Application Process
WEED OUT EXCESS VINYL
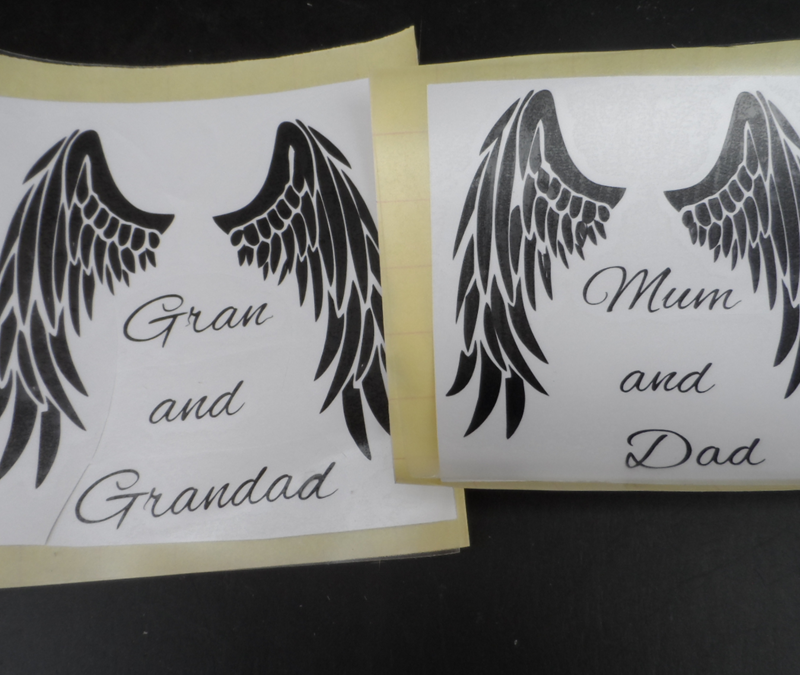
The next step is called “weeding.” Basically, weeding just means removing any excess vinyl from around your design that you do not want to be transferred to your final product.
HOW TO AVOID WASTING VINYL WHEN WEEDING
If your cut design is considerably smaller than the piece of vinyl you cut it from, trim off the extra vinyl before weeding. You can just use a pair of scissors and trim around your design. This allows you to use the rest of your vinyl piece for another project.
TIPS FOR WEEDING ADHESIVE VINYL
To weed off the excess vinyl, you will need some kind of tool. I personally use, a weeding hook and tweezers. It is sharp and works great for removing that vinyl. You can also use, a craft knife, or even a straight pin. If you have any difficulty seeing your cut lines, you can try gently bending your vinyl or holding it up to a light or window. Once you find your cut lines, use your hook or other weeding tool to gently lift up the edge of the negative space and pull it up off of the paper backing. I like to start by removing the vinyl from around my design first and then remove the pieces from inside letters and other parts of the design.
USE TRANSFER TAPE TO APPLY DECAL
Now that you have your design all weeded, you will have a bunch of separate pieces of vinyl positioned on your paper backing, and you need to move them from the paper backing to your final surface. To do this easily and keep all though pieces where they need to be, you need transfer tape or transfer paper. APPLY TRANSFER TAPE Whatever transfer tape you use, start by cutting off a piece about the size of your decal, and smoothing it on to the top of your decal. Use an application tool, scraper tool, or even an old credit card to smooth the transfer tape onto the decal. Next, slowly peel the transfer tape and the vinyl decal up off of the paper backing.
Before applying your decal/vinyl ensure the surface it is to be applied to is clean and free from dust. To do this you can use a soft microfiber cloth and some alcohol. Ensure you leave the surface to full dry before applying your design.
Then, carefully position your decal over your surface. Gently place one end down on the surface and smooth it out with your fingers. Then use your application or scraper tool to burnish the decal onto your surface. Remember, the vinyl’s adhesive is activated through pressure, so give it a good rub to get it to stick well. Finally, peel off your transfer tape, and you are all done! Your awesome DIY vinyl decal is applied!